Item Manager overview
The Item Manager lets you search for existing items and create new ones. Below are the basic work flows for these tasks.
About editing items you source through the Item Manager
After you search for or create items with the Item Manager, you edit them using the Item Editor. The Item Editor is the primary workspace where you add and edit item elements, including text, symbolic and randomized variables, and rendered mathematical expressions. You use the Item Assets window to add images to an item. You can also locate existing items from the Item Library and edit them using advanced editor (Altova) features. For more information, see Editing items.
Item Manager workflow to search for items
- From the Mastering Authoring main page, select
 Access account or sign out (top right) and then choose Item Manager.
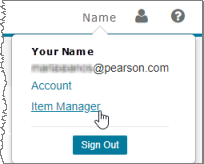
The Item Manager Query Tool window opens.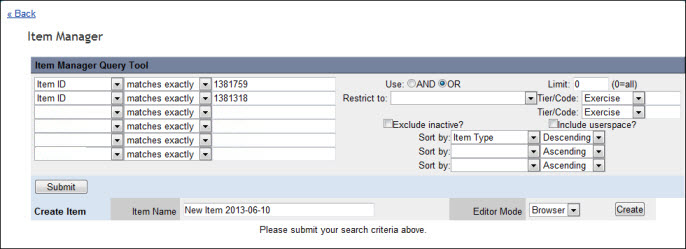
- Enter search criteria in the upper section of the page and click Submit. (For details on entering search criteria, see Searching for items.)
The Item Manager Query Results list appears at the bottom of the page with one or more items that match your search criteria.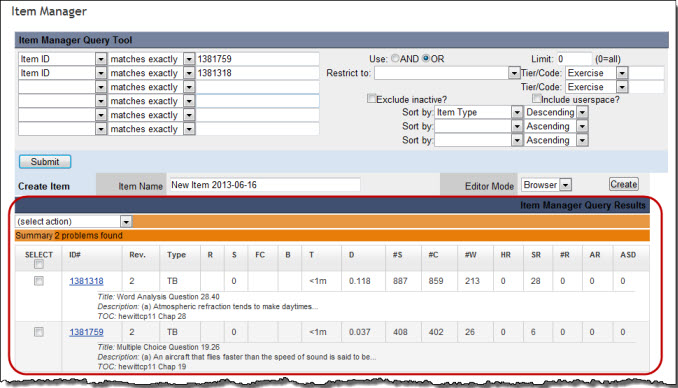
- Click an item link to open it in Standard View (the view that students see). From here, you can edit the item using the Altova editor. See also information about the Edit Action menu.
Item Manager workflow to create items
- From the Mastering Authoring main page, select
 Access account or sign out (top right) and then choose Item Manager.
- Scroll down to the Create Item row, enter a name (you can edit this name later), make sure that Browser is the selected Editor Mode and click Create.
To alternatively create a new item using the Enhanced Simple Editor: Edit the New Item title, choose Create Item in ESE, and then choose Create in ESE (on the right). These options appear below the red callout area in the image below and are not available to non-Pearson staff. For more information, see About the Enhanced Simple Editor.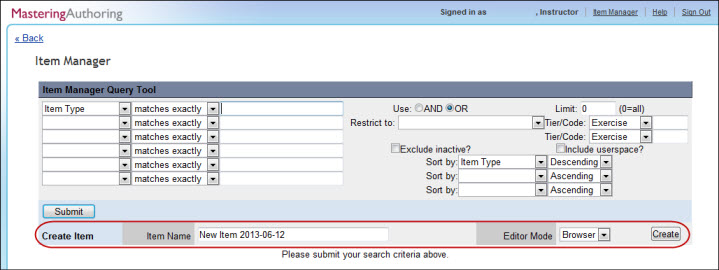
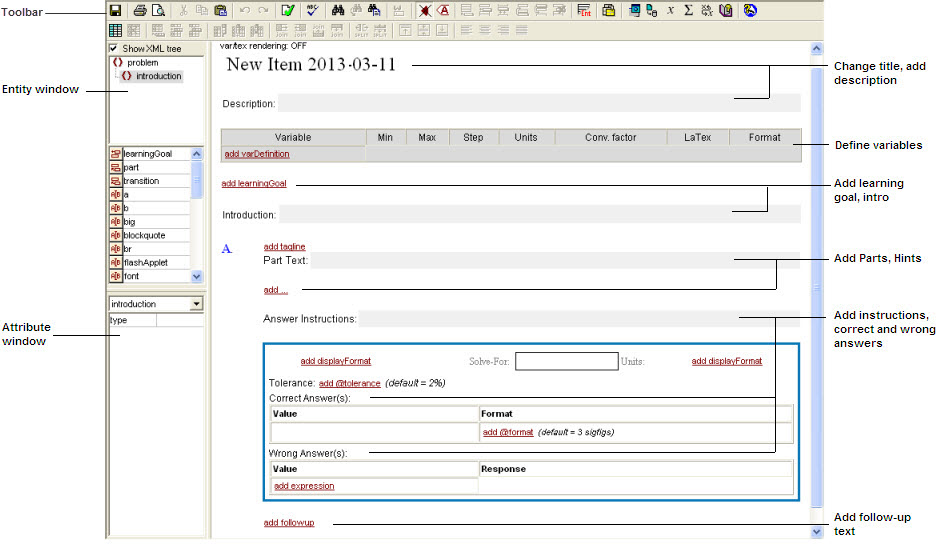
The Item Editor (shown below) opens in a new window. The new item template opens in Standard View (the view that students see) in another window that partially overlaps the Item Editor window. For more information, see creating items.
See also: